 Preparing to deploy to Android Market (now Google Play) might be an intimidating prospect, but it doesn’t need to be. Google has made it easy to get your app into the Android Market.

Note that Google continually improves the Developer Console, so don’t be surprised if you see a few differences from these images (and even the name – it’s now Google Play). The basic process to deploy your app to the Android Market (Google Play) generally remains the same.
Signing up as an Android Developer and Publisher
Before you can publish an app, you need to register with the Android Market. It costs $25, but this is a one-time fee, good for as many applications as you want to deploy to Google Play.
Once you have registered, you can get into the Developer Console. From here, click the lovely blue button to upload an application:
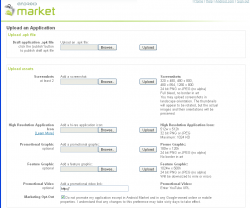
 You’ll have the option to upload your .apk file, and then you get to the rest of the text and graphic assets.
Click on any of the Developer Console images below to see them in greater detail.
Add some spiffy images
I make sure I have all of my graphics and text ready before I go do deploy an app, so things go faster.
Several of the graphics are required, and you can’t deploy your app without them. Hopefully you have your high-resolution icon and your screenshots ready now.
Promo and feature graphics are also important, but if you don’t have them ready you can wait until after you deploy your app to the Android Market (Google Play).
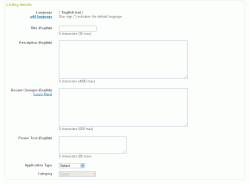
Describe your app for the Android Market (Google Play)
Next, you’ll get the chance to describe your app, and provide a short summary as well. Do your best to make sure you sell your app rather than relying on the app name convincing potential customers. If you need to hire a writer or ask a friend to look over your description, don’t hesitate! The listing text is very important.
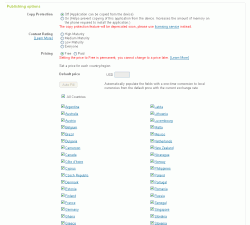
Publishing options for the Android Market
There are a few options to take care of:
- Copy protection
- Content rating (maturity)
- Price (free or paid)
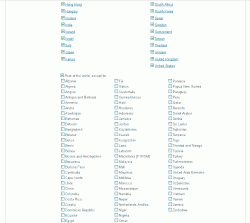
- What countries to make the app available to (all of them, I would expect)
You can also see what devices your app will be made available to, based on the manifest in your .apk. This might be helpful if you aren’t sure what devices can run your app.
This screen is long, so it was split into three separate images:
Almost done!
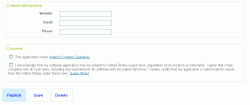
Fill out your contact information, check that you agree to the terms, and you’re good to publish!
Update: Note that the publish button shown in the image has now been moved to the top right. Scroll back up after you’re done entering all of your information.
After you Deploy to Android Market (Google Play)
Now your Android app is live on Google Play, and you’re hopefully getting some downloads. If you’re satisfied with letting your app run its course, then you’re done!

Great tips tim! Keep em’ coming.